Activity Tracker
The CrowdChange Activity Tracker feature allows you to create various Activities within your site, connected to fundraising campaigns, which participants can opt into and track progress towards, while achieving Badges and Milestones. Scroll down to see an example use case of this functionality.
It’s a great way to increase participant engagement with your campaign and your organization’s mission.
Please note that this feature is NOT enabled by default.
To have the Activity Tracker enabled, reach out to your Partner Success Representative today!
Activity Tracker Admin Menu
When Activity Tracker is enabled on your site:
Fundraisers have a toggle slider within Advanced Features to enable Activity Tracker. Turning this on allows the fundraiser host to access Activities and enables the fundraiser-level Activity Tracker Report.
Master Templates (if enabled) have a toggle slider to enable Activity Tracker. Turning this on allows fundraiser hosts using the template to access Activities.
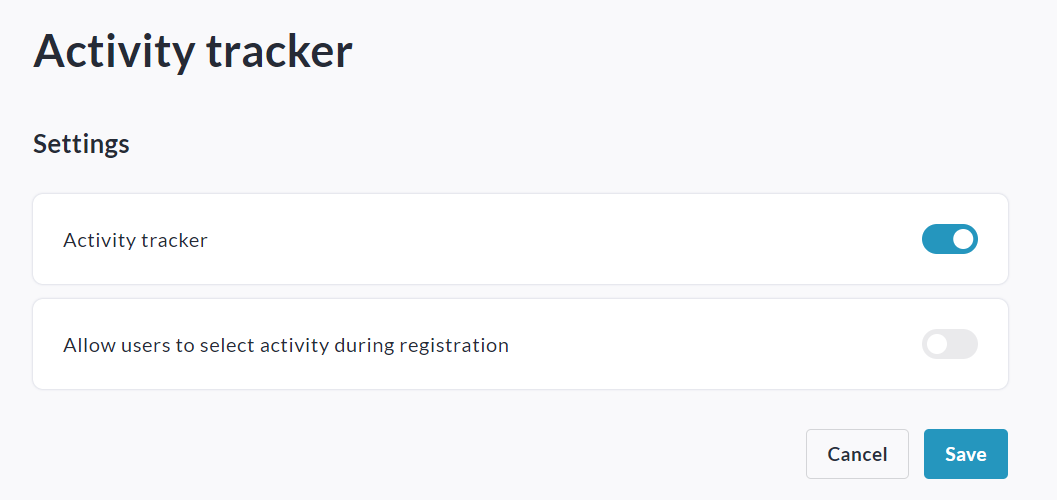
Activity Tracker setup menu is added to Admin Dashboard under Fundraisers Settings → Activity Tracker.
The Activity Tracker Admin Report must also be enabled on your site by a CrowdChange Support Agent. Once enabled, it is added to the Admin Dashboard under Reports → Activity Tracker Report.
Example Use-Case for Activity Tracker:
Nicholas has a personal fundraising page within the “Jackie’s Joyathon” fundraiser, hosted by “Run for Joy Canada”. The organization has set up activity challenges leading up to the day of the event such as “Jog for 10 minutes every day” and “Eat 7 fruits/vegetables each week”, etc.
Using Activity Tracker on his page, Nicholas can track and publicly show his progress towards these activities.
He can also do so via his Personal Page Dashboard within Participant Center (if enabled).
His activity progress is shown publicly (if desired) within the Activity Tracker block on his personal page.
Getting Started with Activity Tracker
Please Note: You will not be able to follow these instructions until Activity Tracker has been enabled on your site by a CrowdChange Partner Success Representative or Support Agent.
Setting up an Activity at the Admin Level (within Admin Dashboard)
To get started, let’s set up an Activity within the Admin Dashboard. Follow the steps below to do so:
From anywhere on your CrowdChange site, click Profile → Admin.
Click Fundraisers Settings → Activity Tracker on the left sidebar.
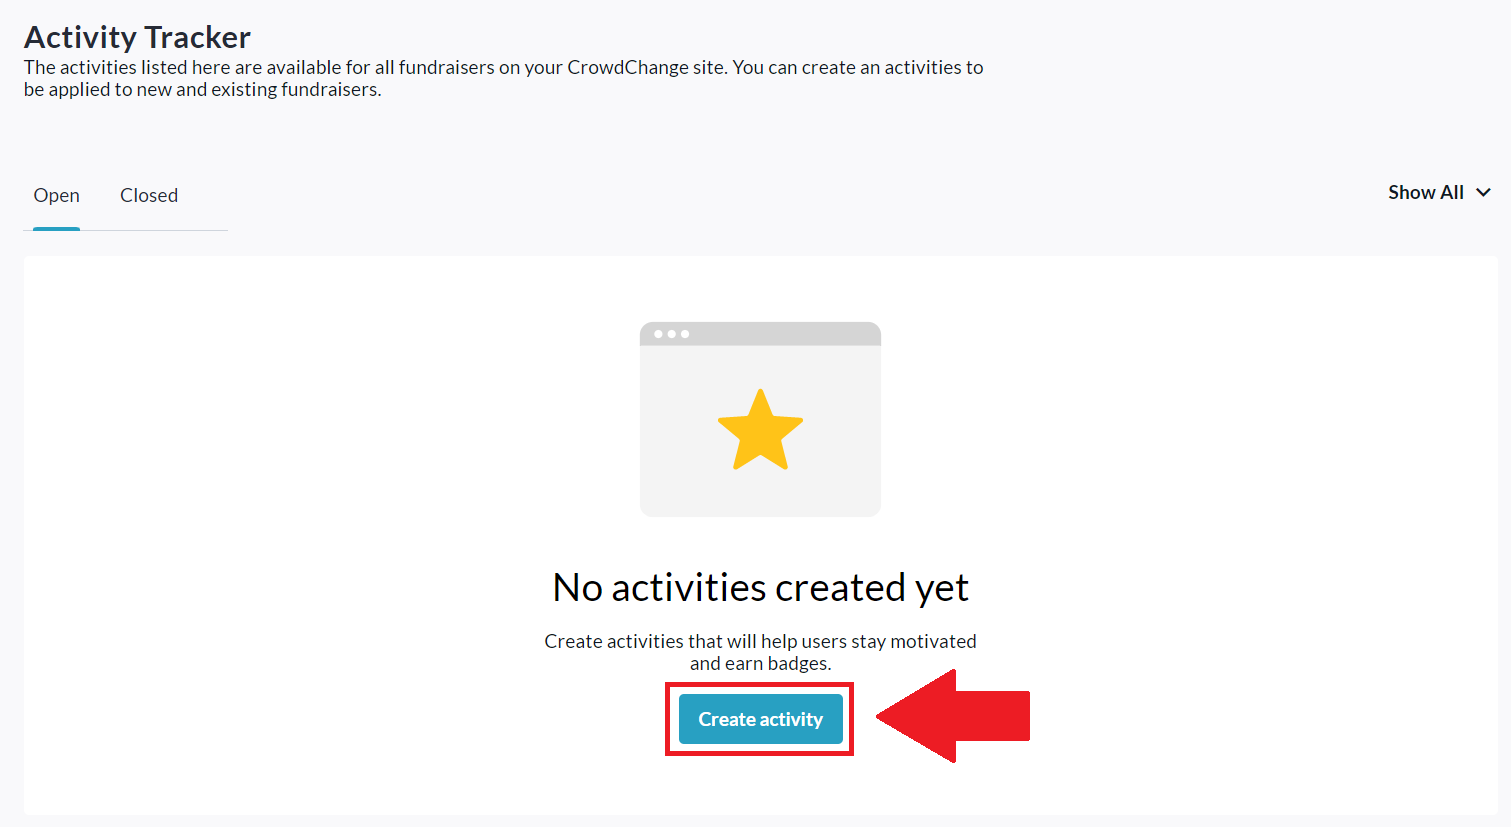
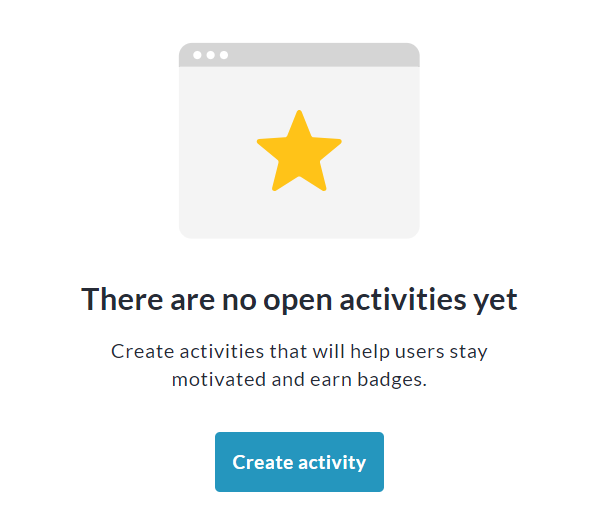
Click the Create Activity button shown below:
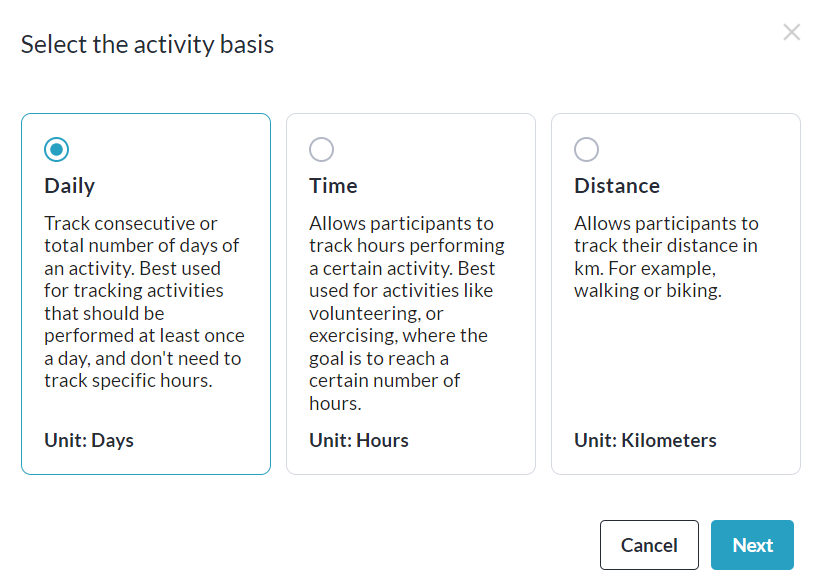
Select the Activity Basis (what unit will be measured) in the popup that appears and click Next.
Fill out all the details of your activity, such as name, description, and start/end dates.
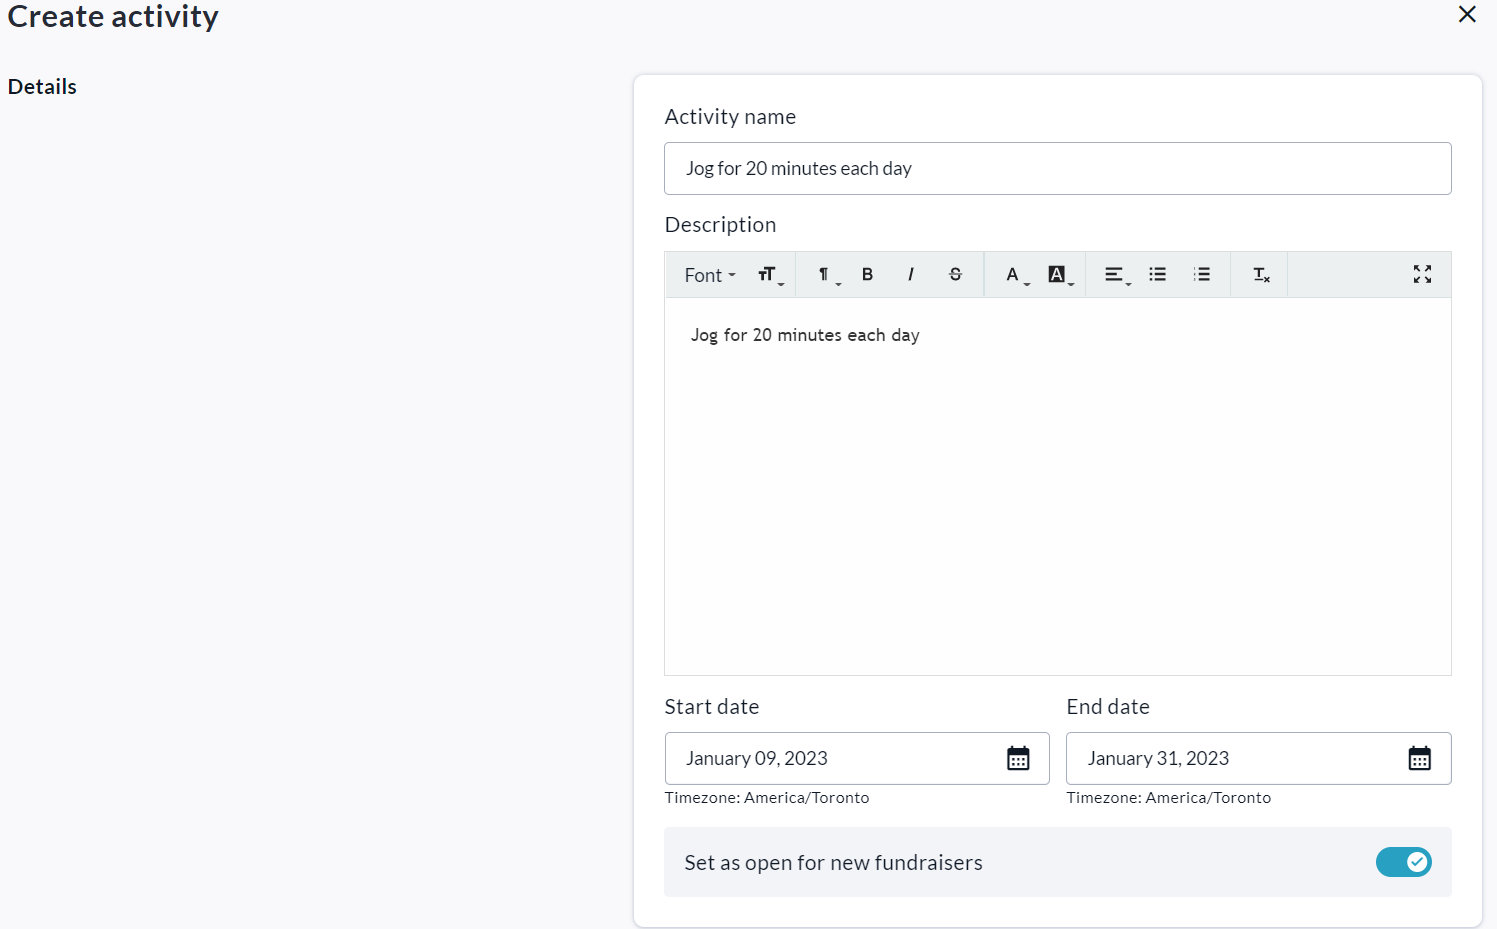
Toggle ON ‘Set as open for new fundraisers’ to make this activity available to new fundraisers.
Toggle ON ‘Publish activity’ to make this activity public as opposed to hidden.
If desired, use the Types section to specify multiple ways this activity may be tracked.

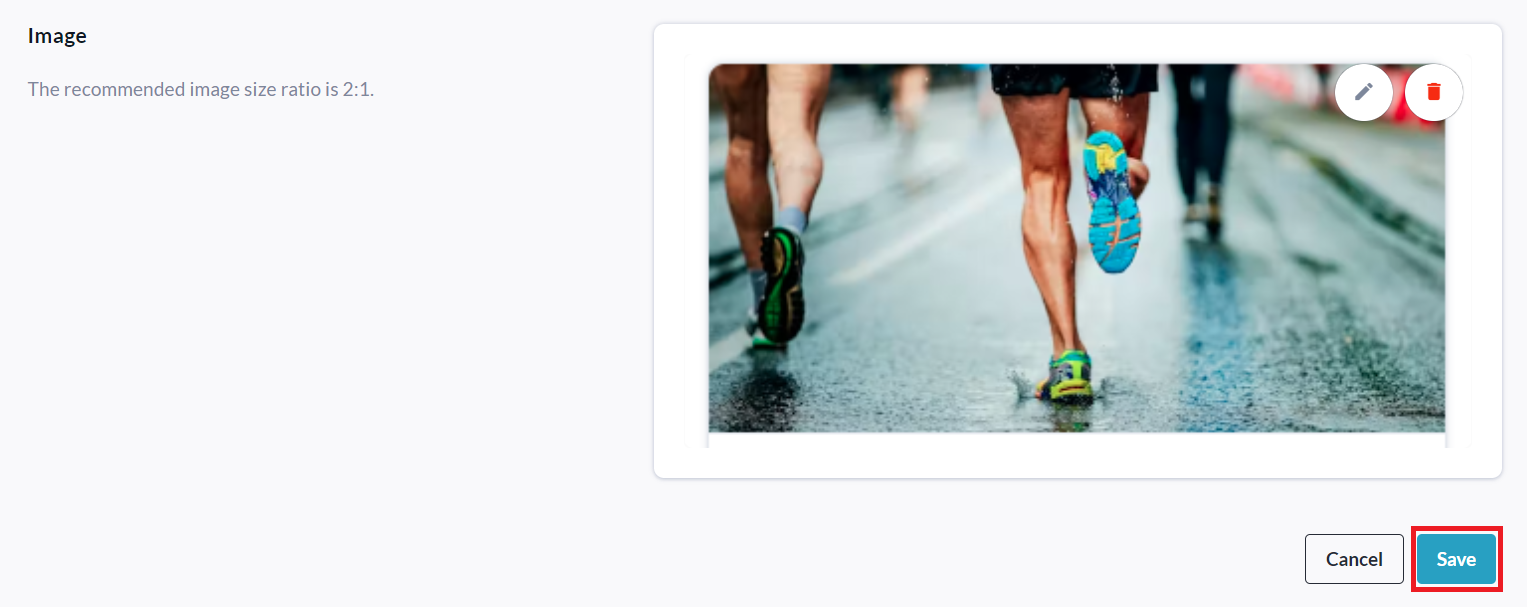
Set an image for this activity and click Save.
Setting up Badges & Milestones for the Activity
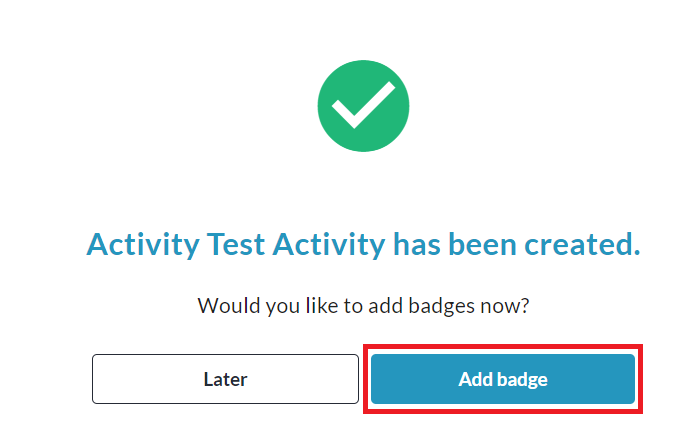
After creating an activity, you will be prompted to add Badges for the activity as shown below:
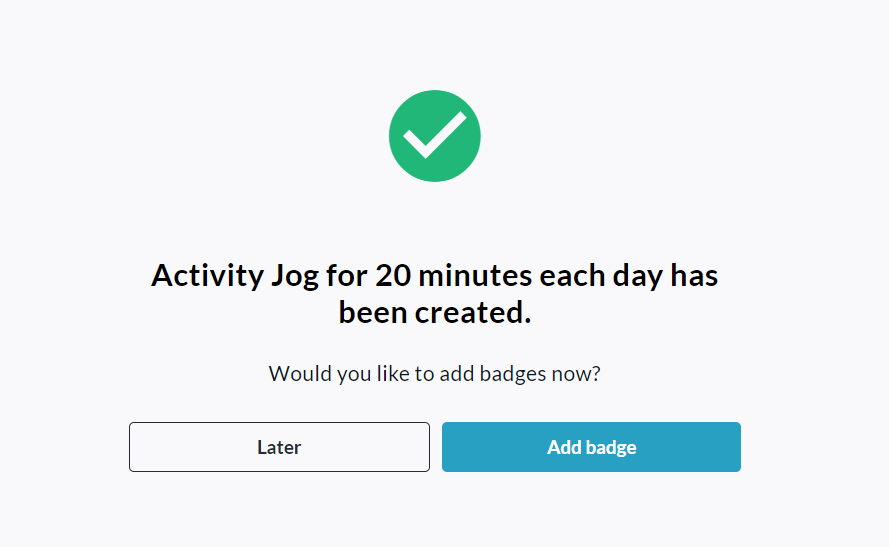
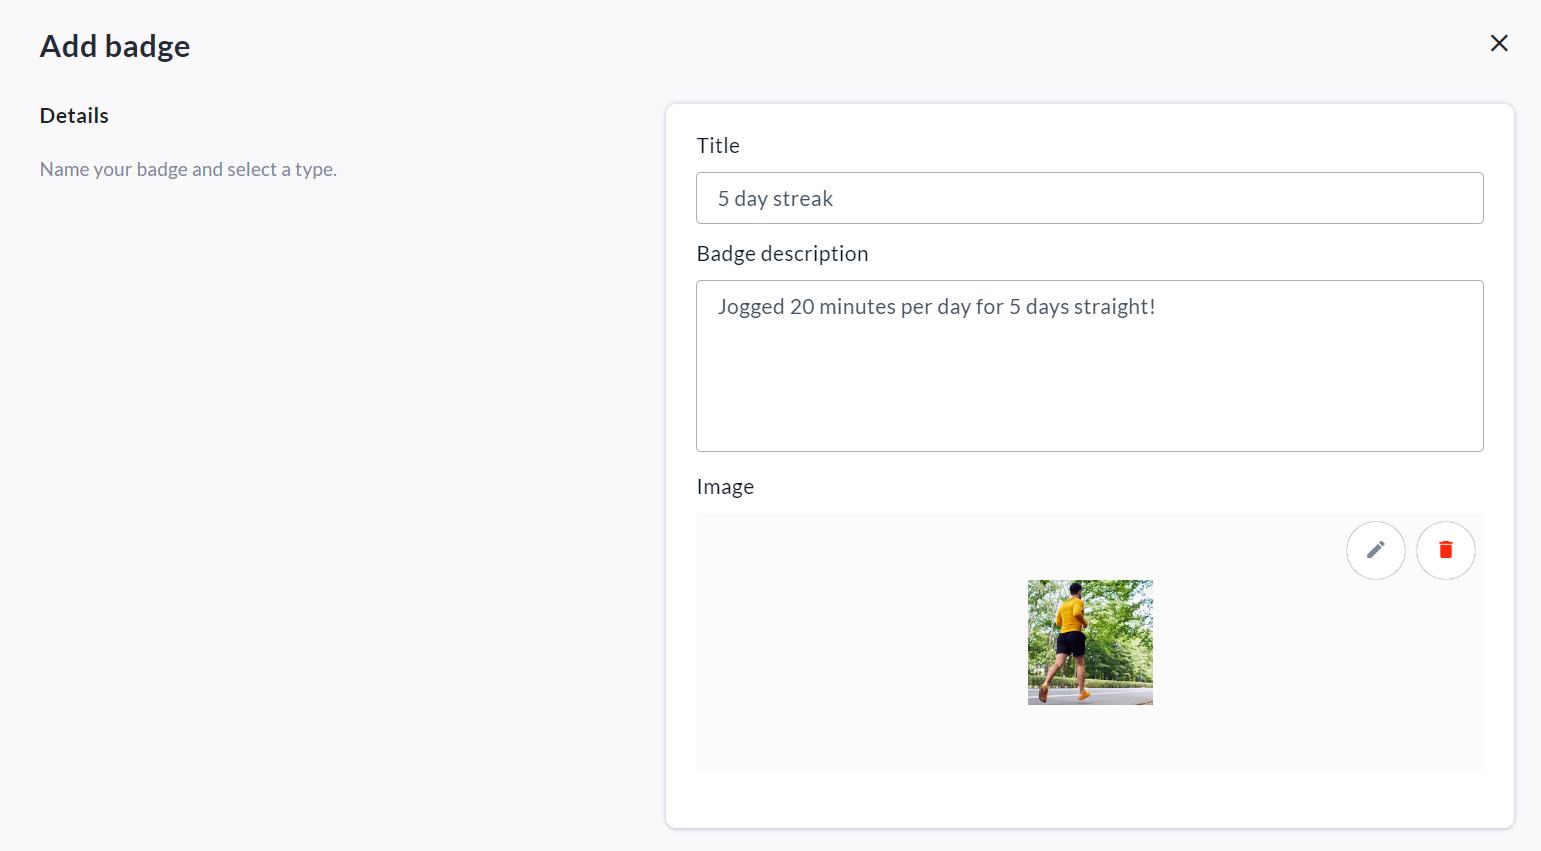
Click on Add Badge and fill out all the required information. See definitions below:
Details Section:
Title - The name of the badge you are creating.
Badge description - Descriptive and/or congratulatory text about the badge.
Image - The image of or associated with your badge.
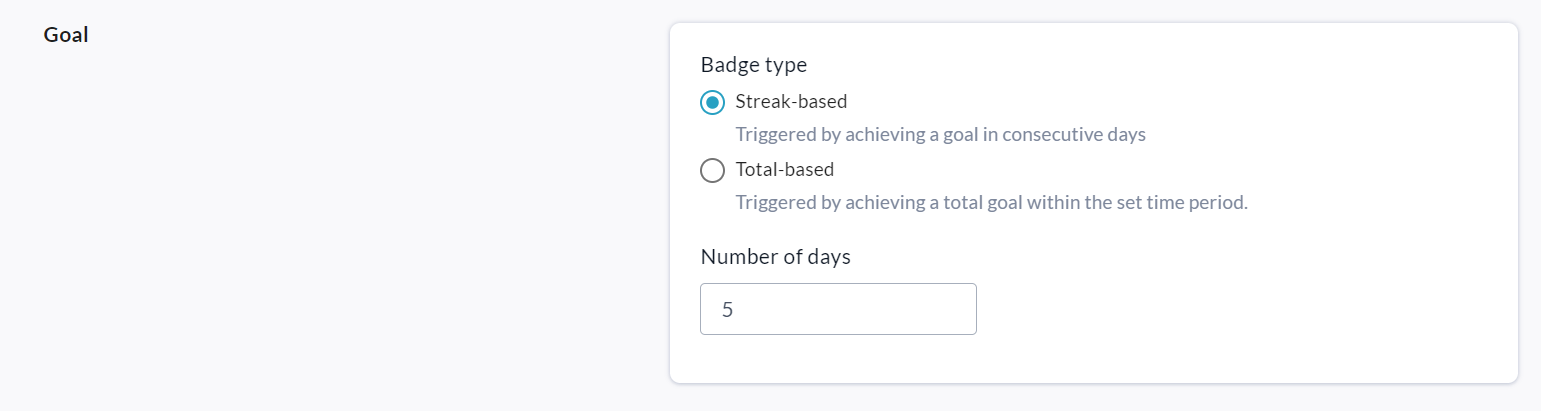
Goal Section:
Badge type - How your badge is earned:
Streak-based means the badge is earned by tracking the activity/habit 'X' number of days in a row.
Total-based means the badge is earned by tracking the activity/habit 'X' number of days in total within the start and end dates of the activity.
Number of days - the 'X' number referenced above. This is the number of days necessary to fulfill either the streak-based or total-based achievement as described above.
Types Section: If desired, specify which Types (options for tracking the activity) are connected to this badge.

Before saving, create a Milestone email to be sent to the participant on achievement of this Badge:

Click Save, and you’ll be taken to the Badges menu, where you can return at any time to Add or Edit badges.
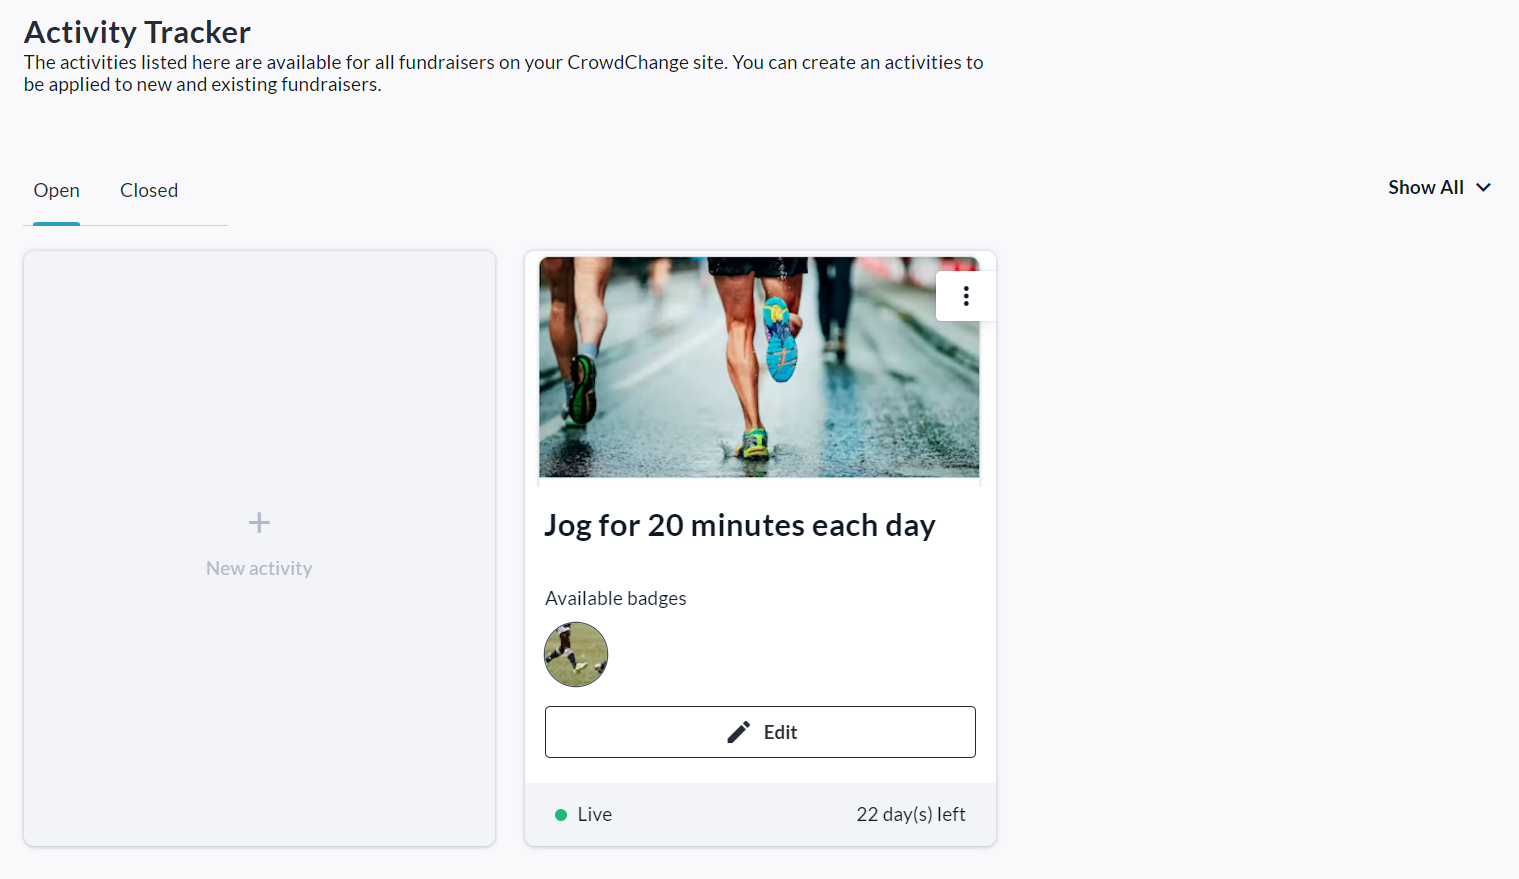
Click Back to Activities in the top left corner to return to the Activity Tracker Admin menu.
You can return here at any time to Add, Edit or Archive activities.
Enabling Activity Tracker on a New Fundraiser
Activity Tracker must be enabled on a fundraiser by fundraiser basis. Additionally, to use it fully, P2P fundraising pages must be toggled on. Follow the simple steps below to enable it on a new fundraiser:
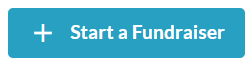
From the home page of your CrowdChange site, click the Start a Fundraiser button.
On the General Info page, fill out all required information and click Next.
On the Additional Settings page, enable some or all of the following under Peer-to-peer features:
Personal fundraising pages
Team fundraising pages
Personal fundraising pages within teams
Under Advanced Features, turn ON the Activity tracker toggle slider.

Click Create Fundraiser at the bottom of the page.
Enabling Activity Tracker on an Existing Fundraiser
Activity Tracker must be enabled on a fundraiser by fundraiser basis. Additionally, to use it fully, P2P fundraising pages must be toggled on. Follow the simple steps below to enable it on an existing fundraiser:
While logged in, go to your fundraiser and click Manage Fundraiser.

Click Peer to Peer features on the left sidebar.
Enable some or all of the following under Peer-to-peer features:
Personal fundraising pages
Team fundraising pages
Personal fundraising pages under a team can be created (within Personal fundraising pages)
Scroll down and click Save.
On the left sidebar, click Activity Tracker.
Enable the Activity tracker toggle slider.
Click Save to confirm.
Setting up an Activity at the Fundraiser Level
Activities can also be set up at the individual fundraiser level (once Activity Tracker has been enabled on both the site and the specific fundraiser) by following these steps:
While logged in, go to your fundraiser and click Manage Fundraiser.
Click Activity Tracker on the left sidebar.
Scroll down and click the Create Activity button.
Select the Activity Basis (what unit will be measured) in the popup that appears and click Next.
Fill out all the details of your activity, such as name, description, and start/end dates.
Set Types (if applicable) and an image for the activity and click Save.
Setting up Badges & Milestones for the Activity
After creating an activity, you will be prompted to add Badges for the activity:
Click on Add Badge and fill out all the required information.
Before saving, create a Milestone email under ‘Message content’ to be sent to the participant on achievement of this Badge.
Click Save, and you’ll be taken to the Badges menu, where you can return at any time to Add or Edit badges.
Click Back to Activities in the top left corner to return to the Activity Tracker menu.
You can return here at any time to Add, Edit or Archive activities.